How to use Oniris
A walkthrough of every step, from creating your account to getting paid.
For Security Professionals
Create your account
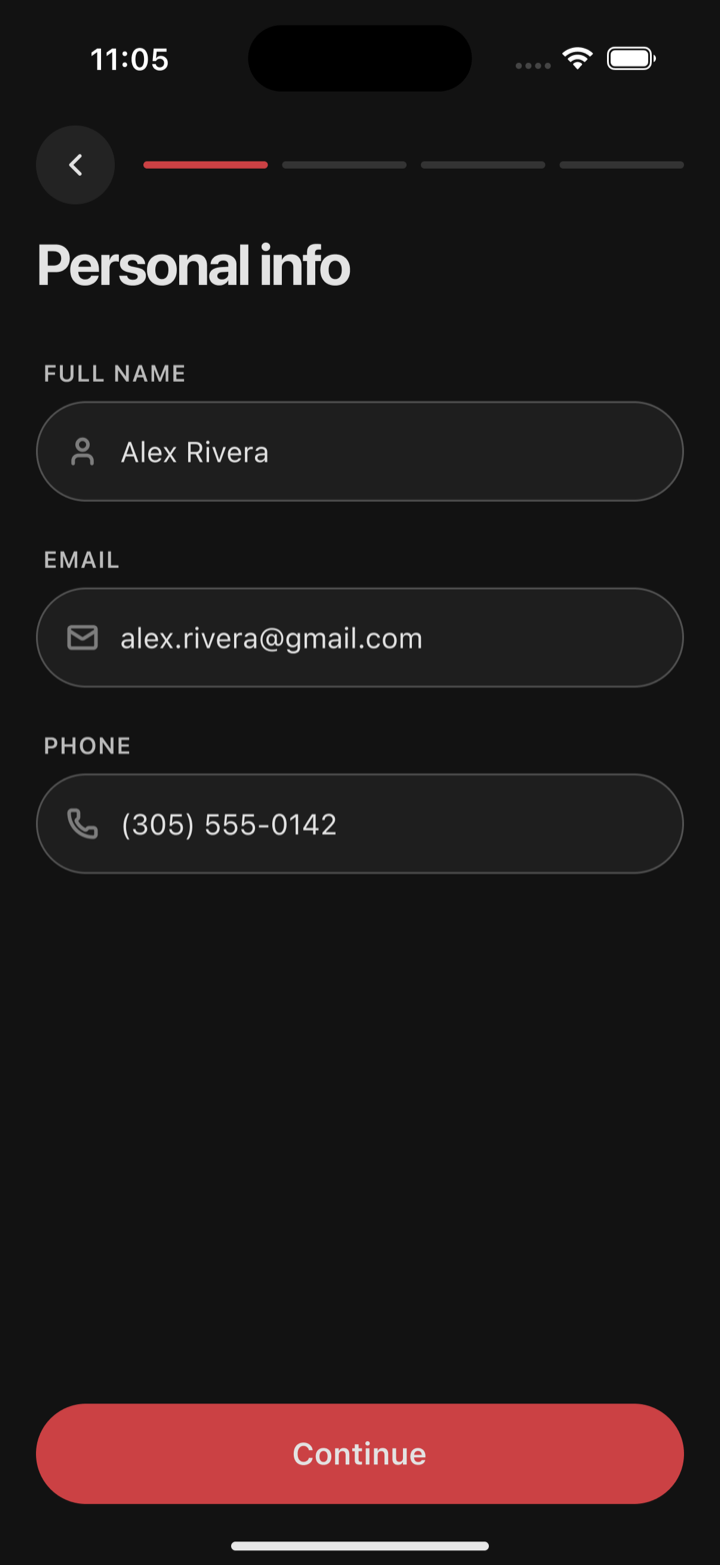
Sign up as a Security Professional with your name, email and phone. Then choose your state, create a password and enter the code we text to your phone.
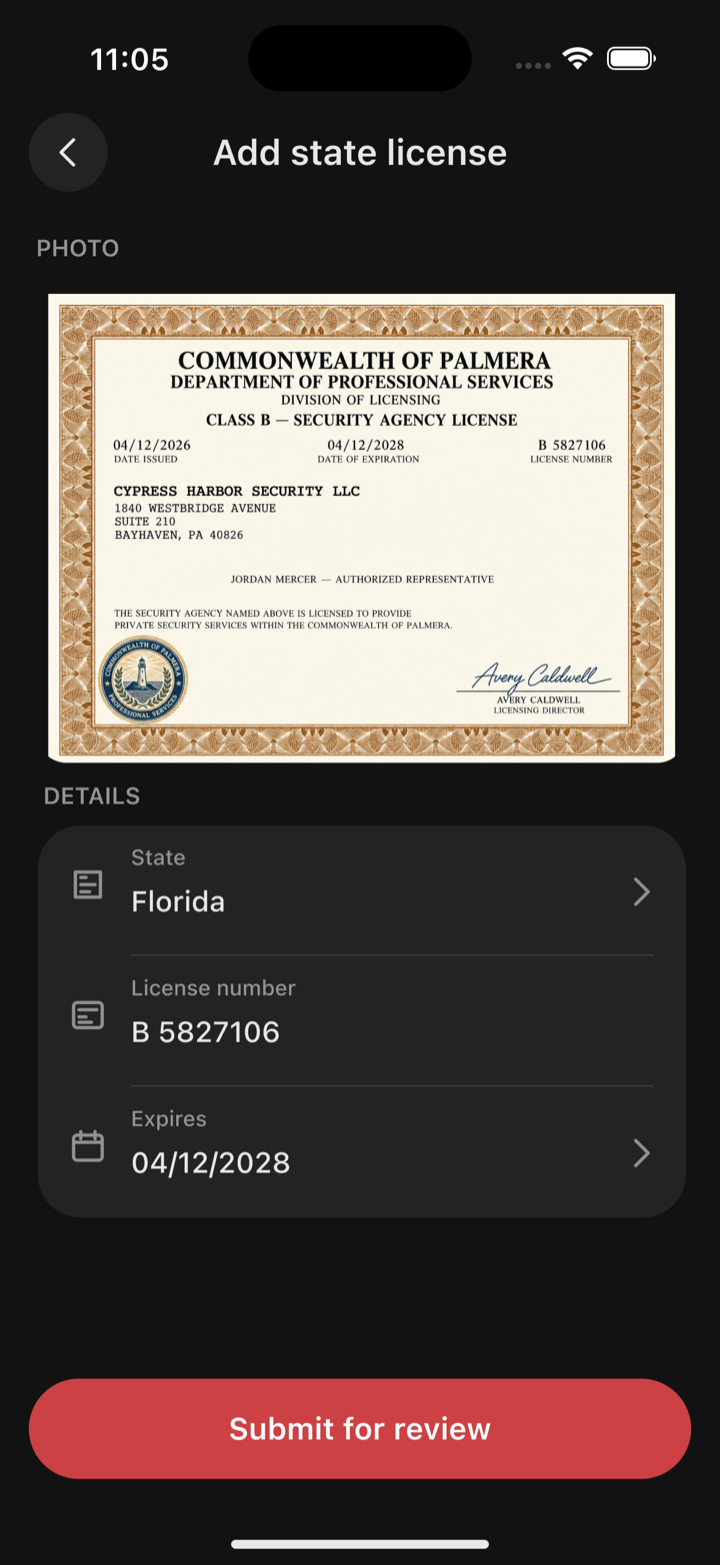
Submit your license
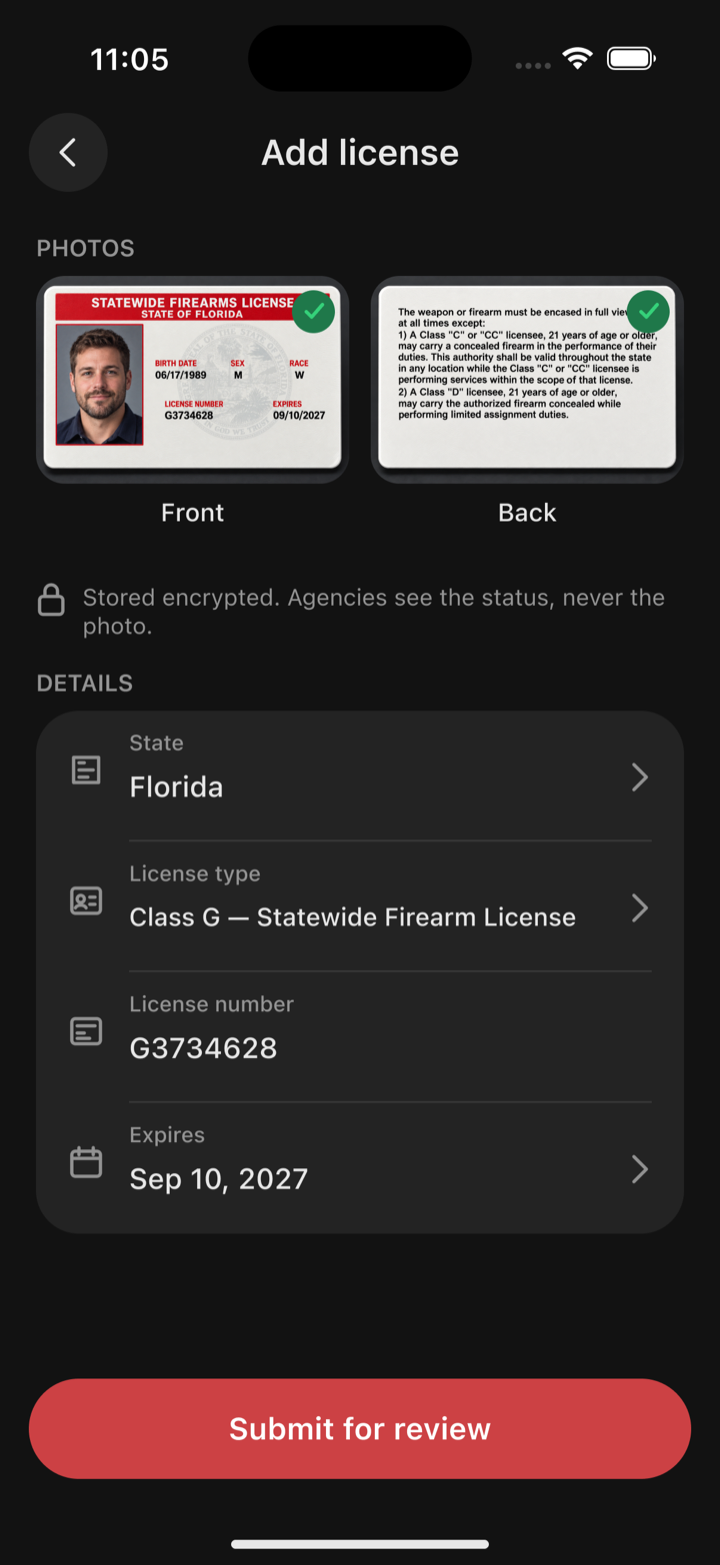
Add a photo of your security license with its number and expiry date to finish registration. Oniris reviews every license, and you'll be notified once it's approved or if something needs fixing.
Browse open shifts
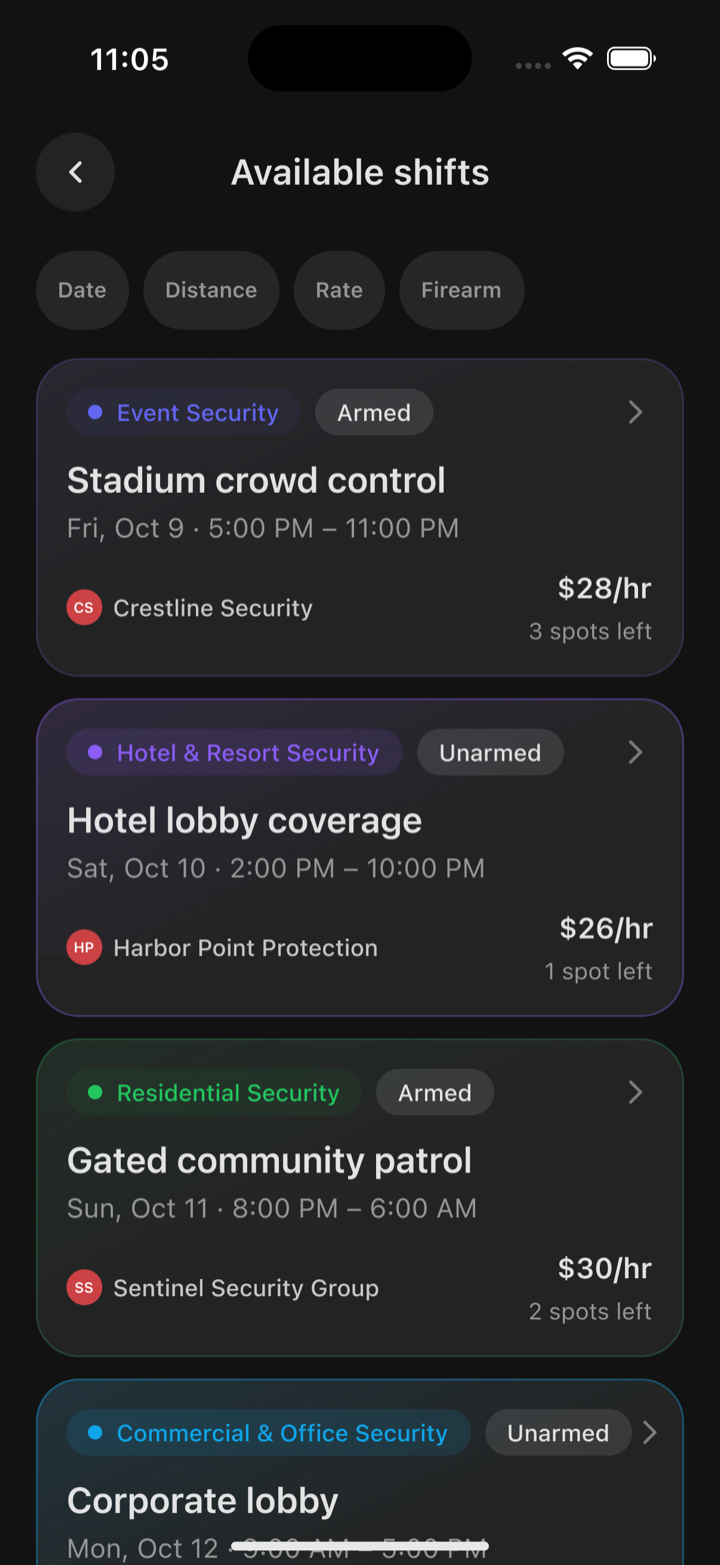
Once your license is approved and your payouts are set up, tap Browse shifts on Home to see open shifts in your state that match your license.
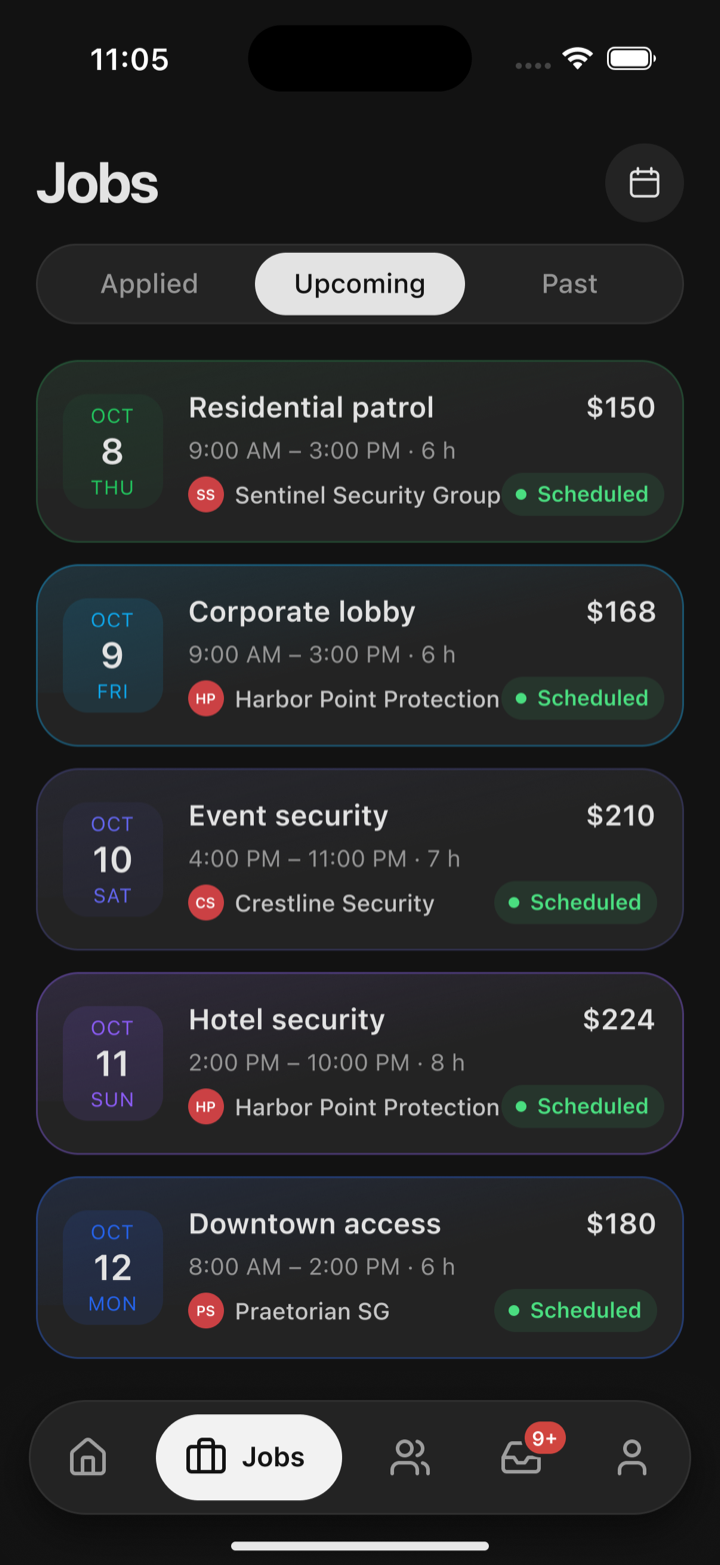
Apply or withdraw
Open any shift and apply. Changed your mind? Withdraw from Jobs → Applied. An accepted shift can be withdrawn until it starts, but late withdrawals affect your reputation.
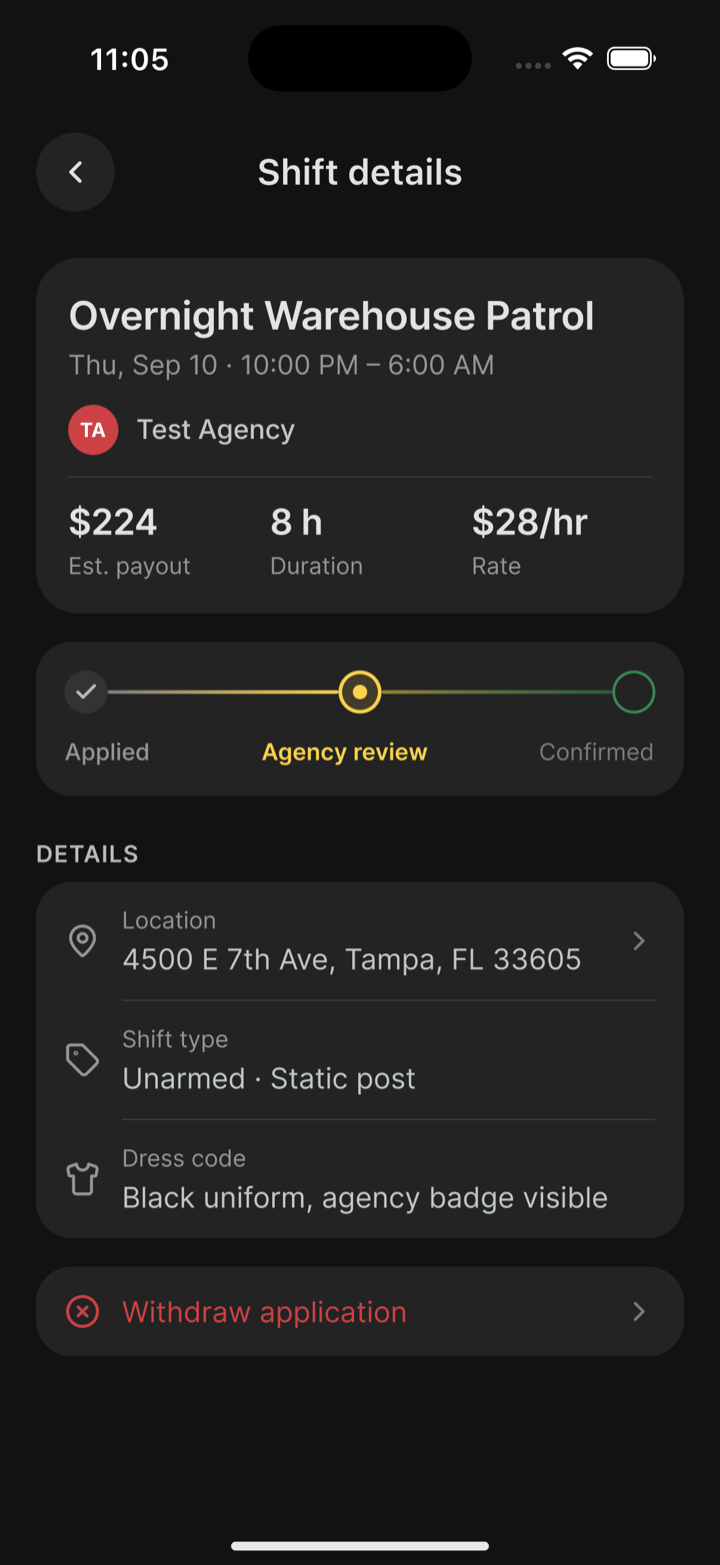
Get accepted
The agency reviews your profile, license and ratings, then accepts or declines your application. You'll be notified either way.
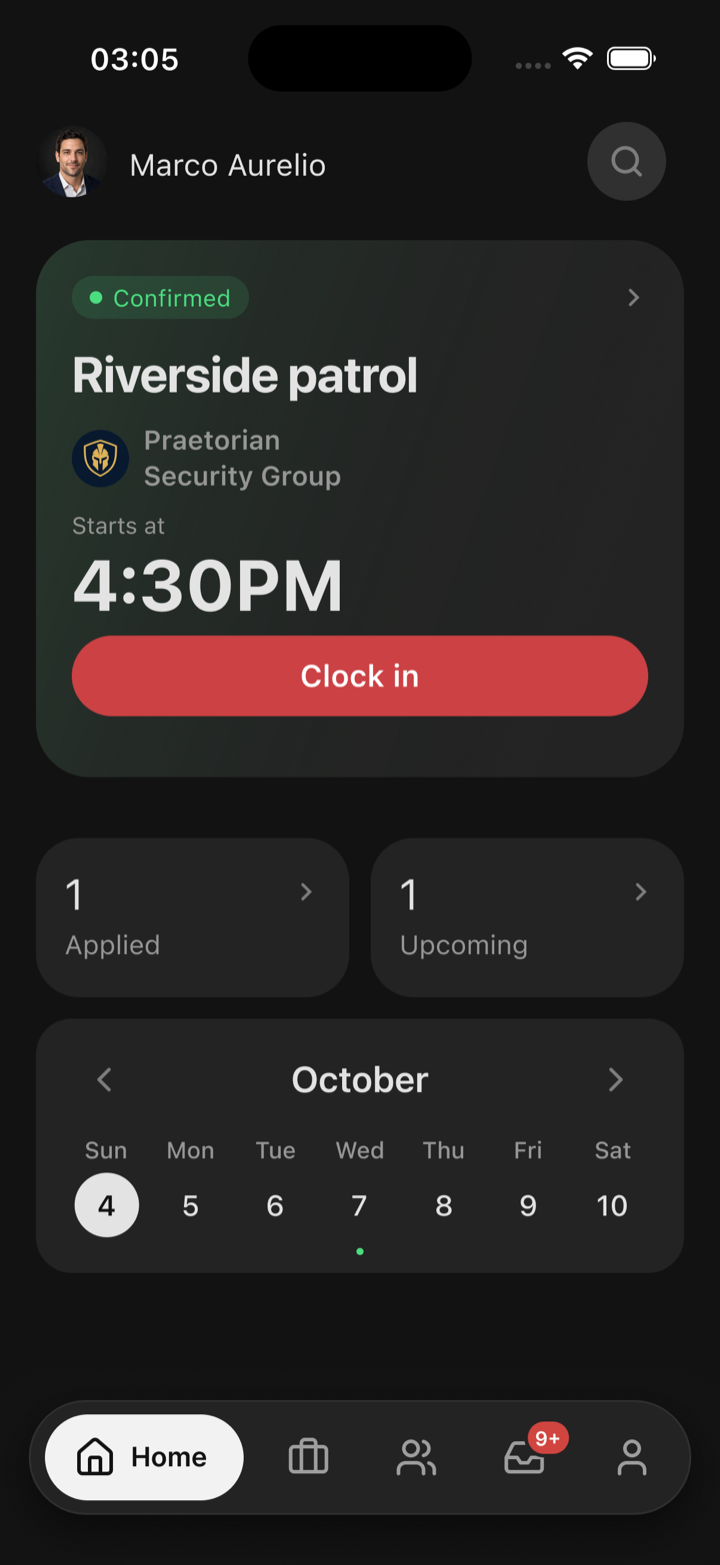
Clock in on-site
Clock in opens on Home 15 minutes before the shift starts. You need to be at the shift location, and Oniris checks your GPS.
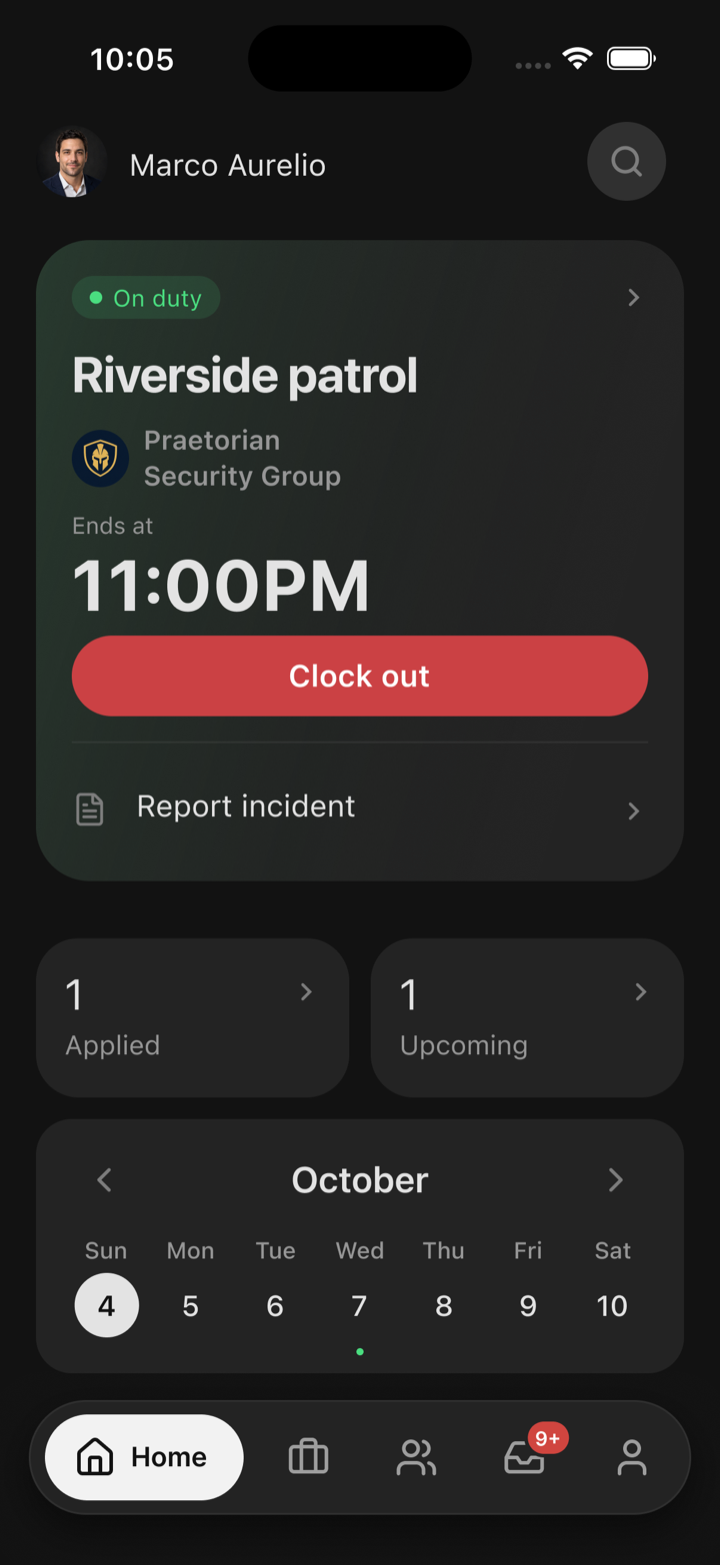
Clock out
Tap Clock out when the shift ends. Leaving early asks for a reason and notifies the agency. Clocking out completes the shift and starts your payment.
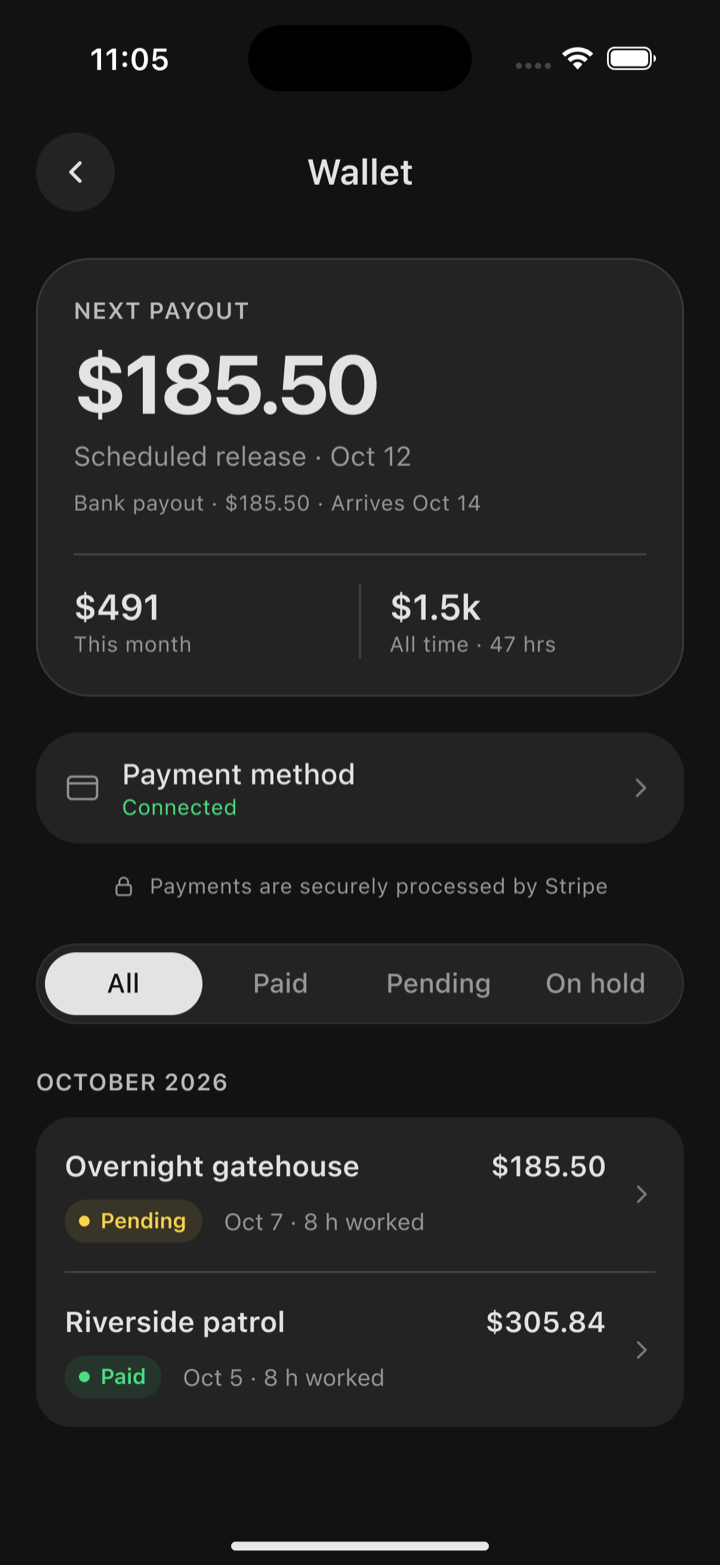
Get paid
Set up payouts through Stripe once from your Wallet. Payouts are released on the third calendar day after the shift ends. Bank arrival times may vary.
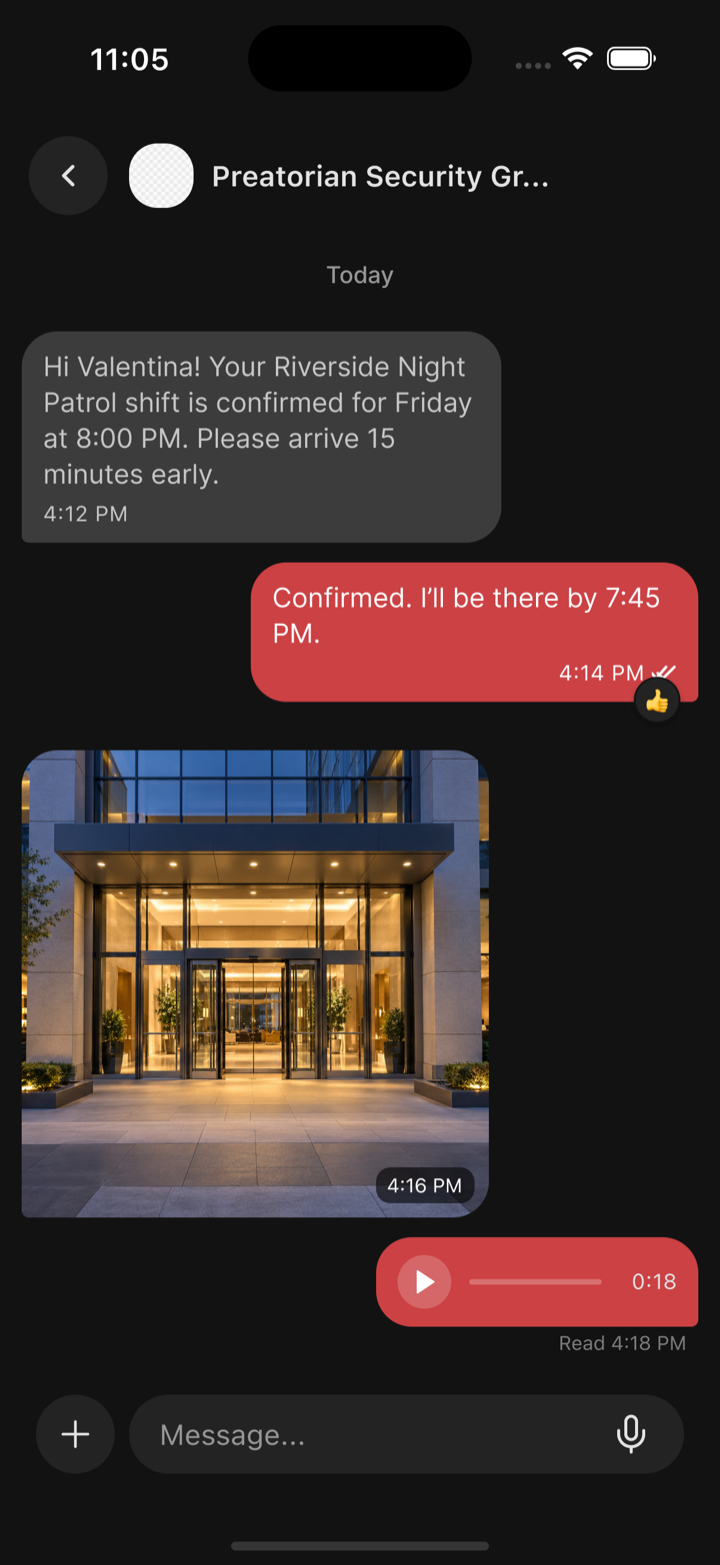
Message, rate, and reconnect
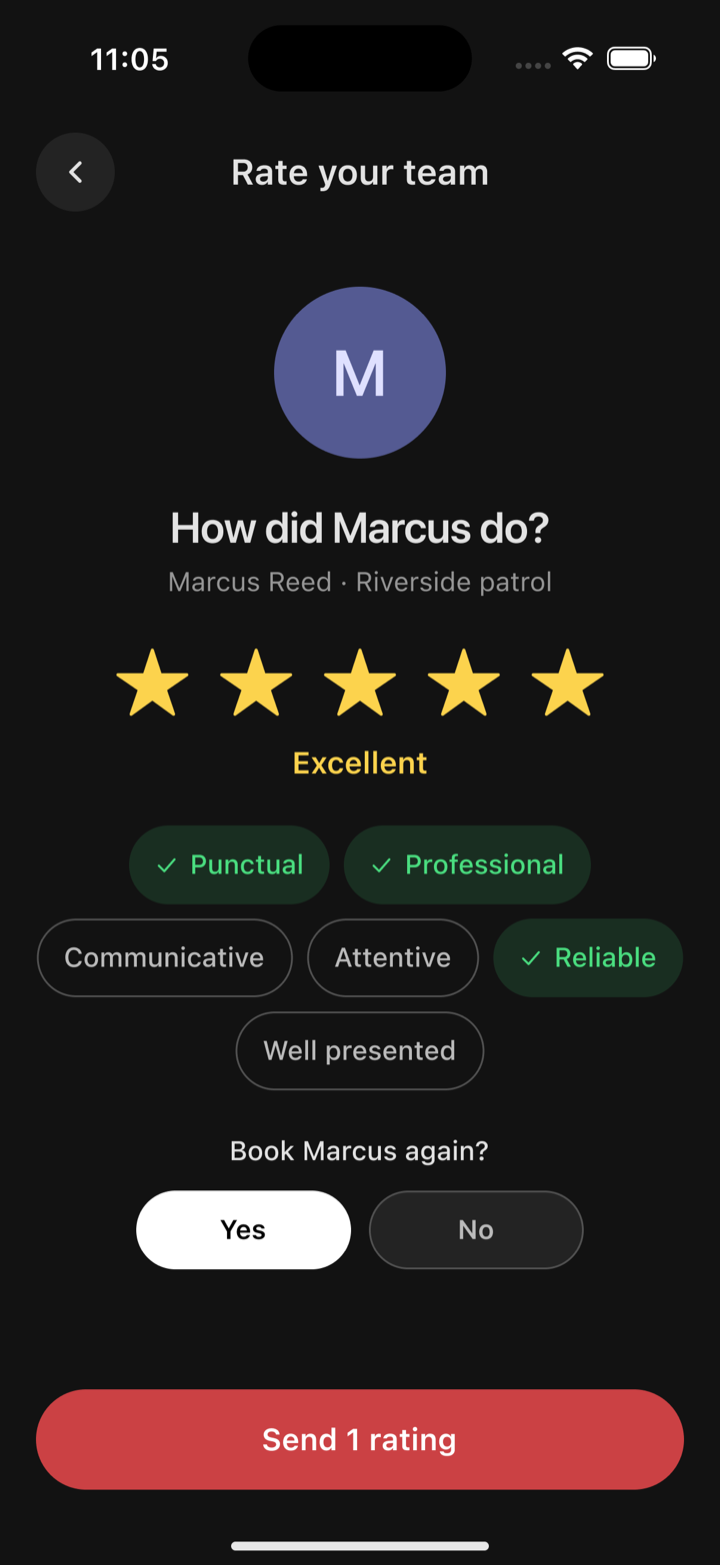
Chat with the agency from the shift, rate the agency once the shift is paid, and add agencies you work with to your contacts using their @Oniris ID.
For Agencies
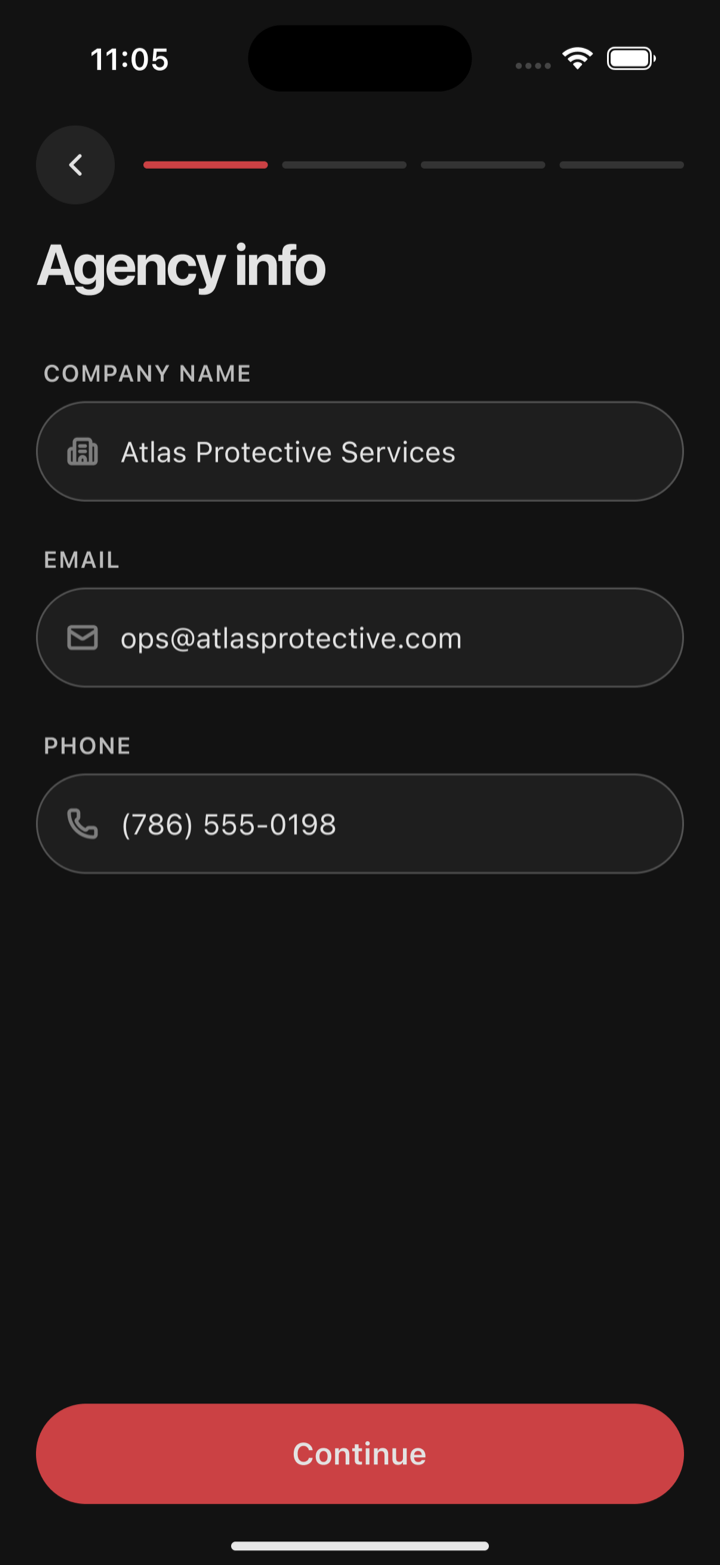
Create your account
Sign up as an Agency with your company name, email and phone. Then choose your operating state, create a password and enter the code we text to your phone.
Submit your business license
Add your business license and registered address to finish registration. Your account shows as pending until Oniris approves it, and you'll be notified either way.
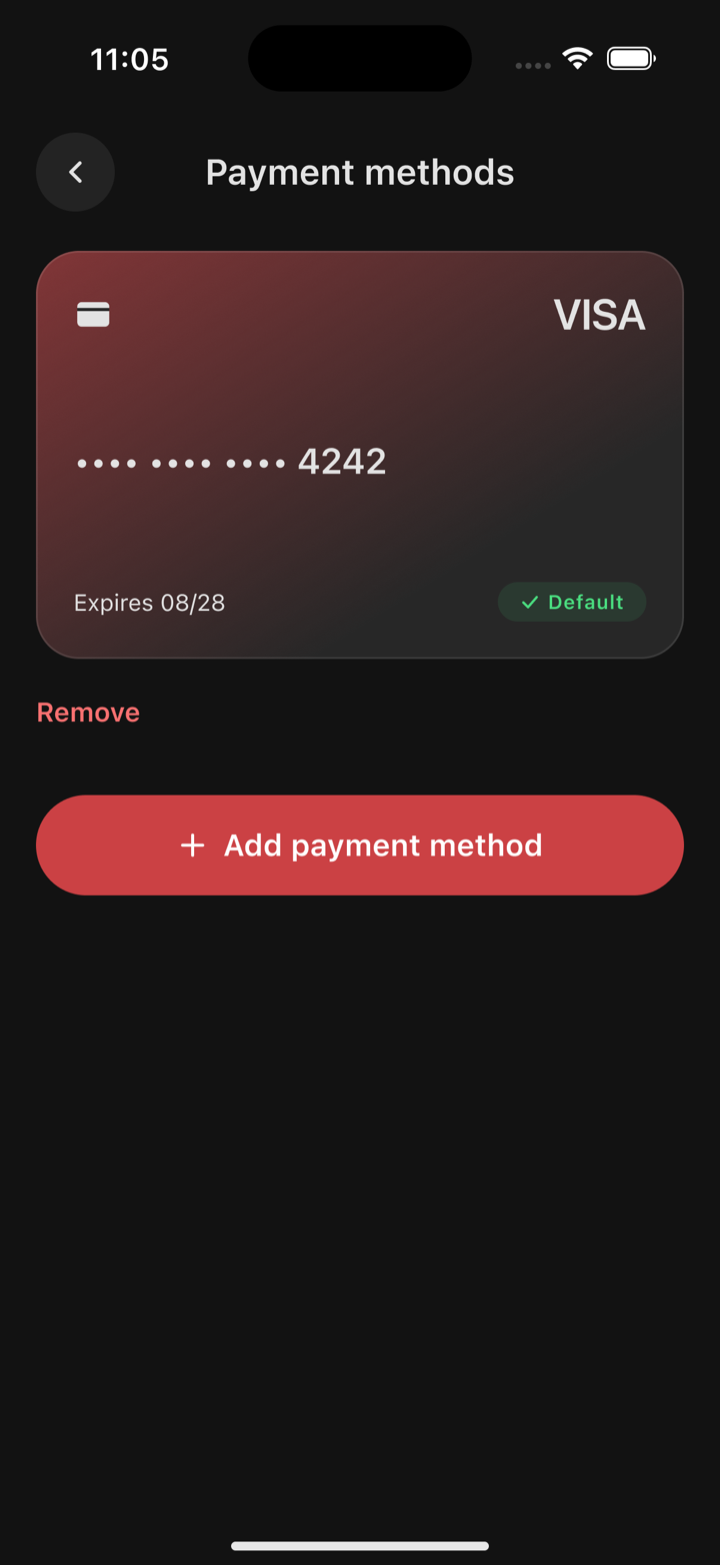
Add a payment method
Add a card or bank account through Stripe in Profile → Billing. You need one before posting your first shift.
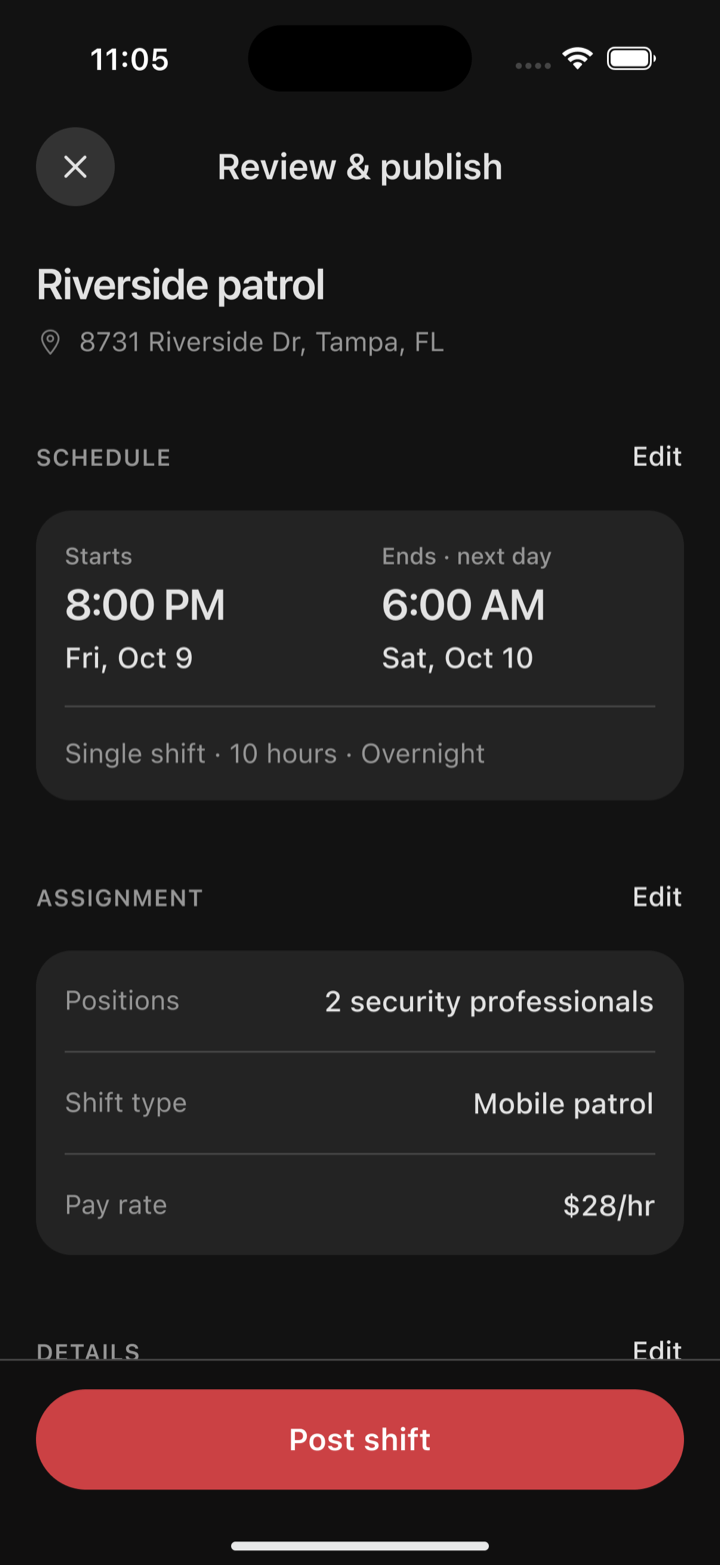
Post a shift
Tap + on Home and fill in the title, location, schedule, positions, pay rate and requirements. Tap Review shift, check the costs, then Post shift.
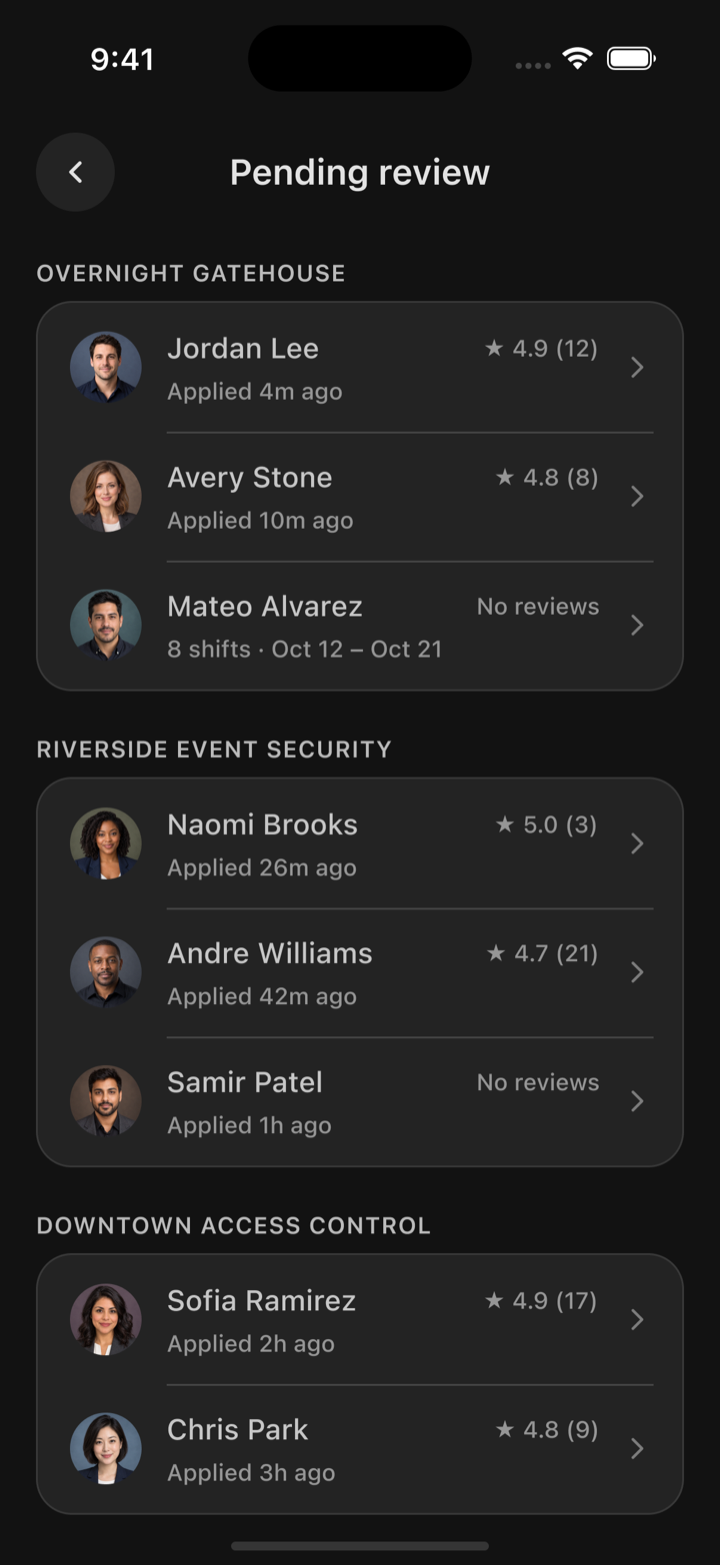
Review applications
Open Pending review in the Activity tab, check each applicant's license and ratings, then accept or decline.
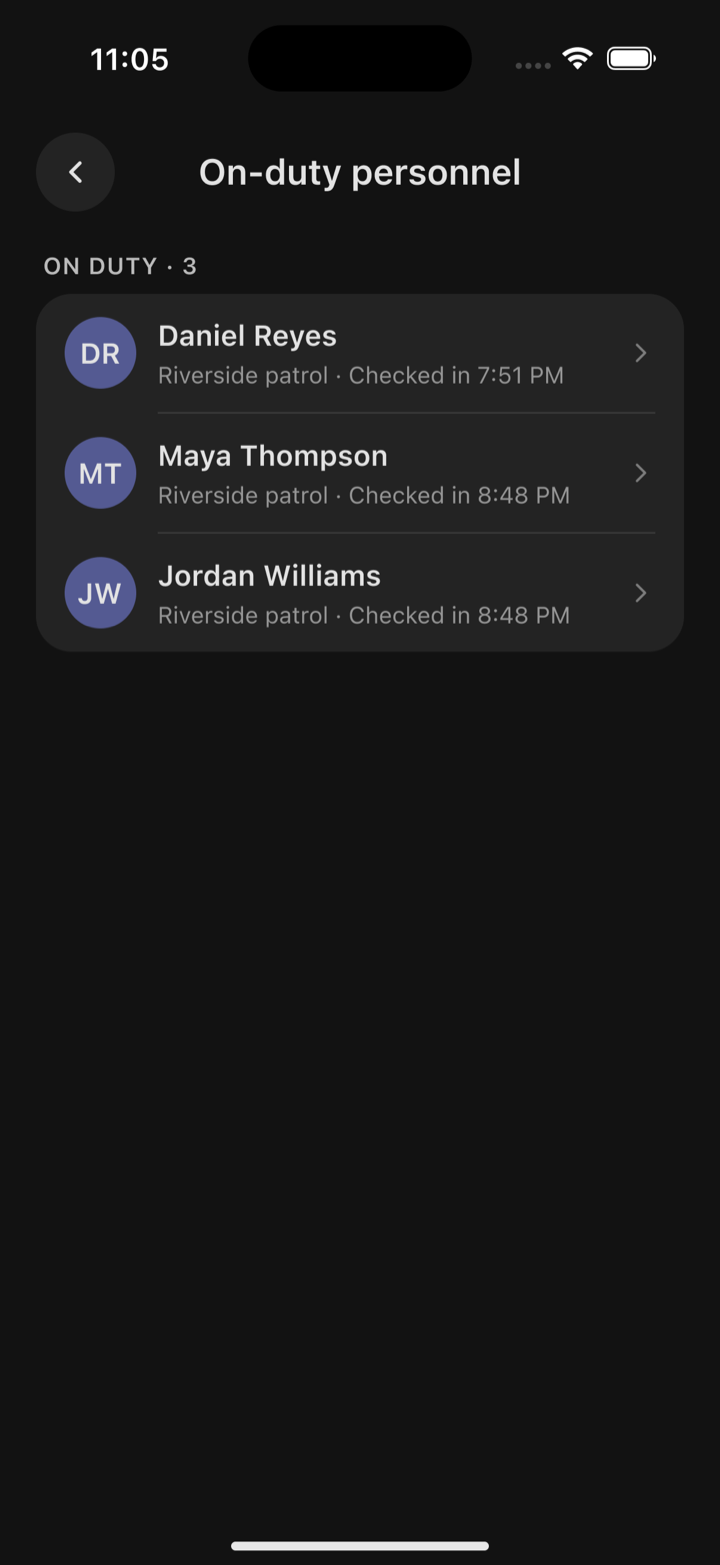
Track the shift live
See who's on site in On-duty personnel as security professionals clock in and out.
Automatic payment
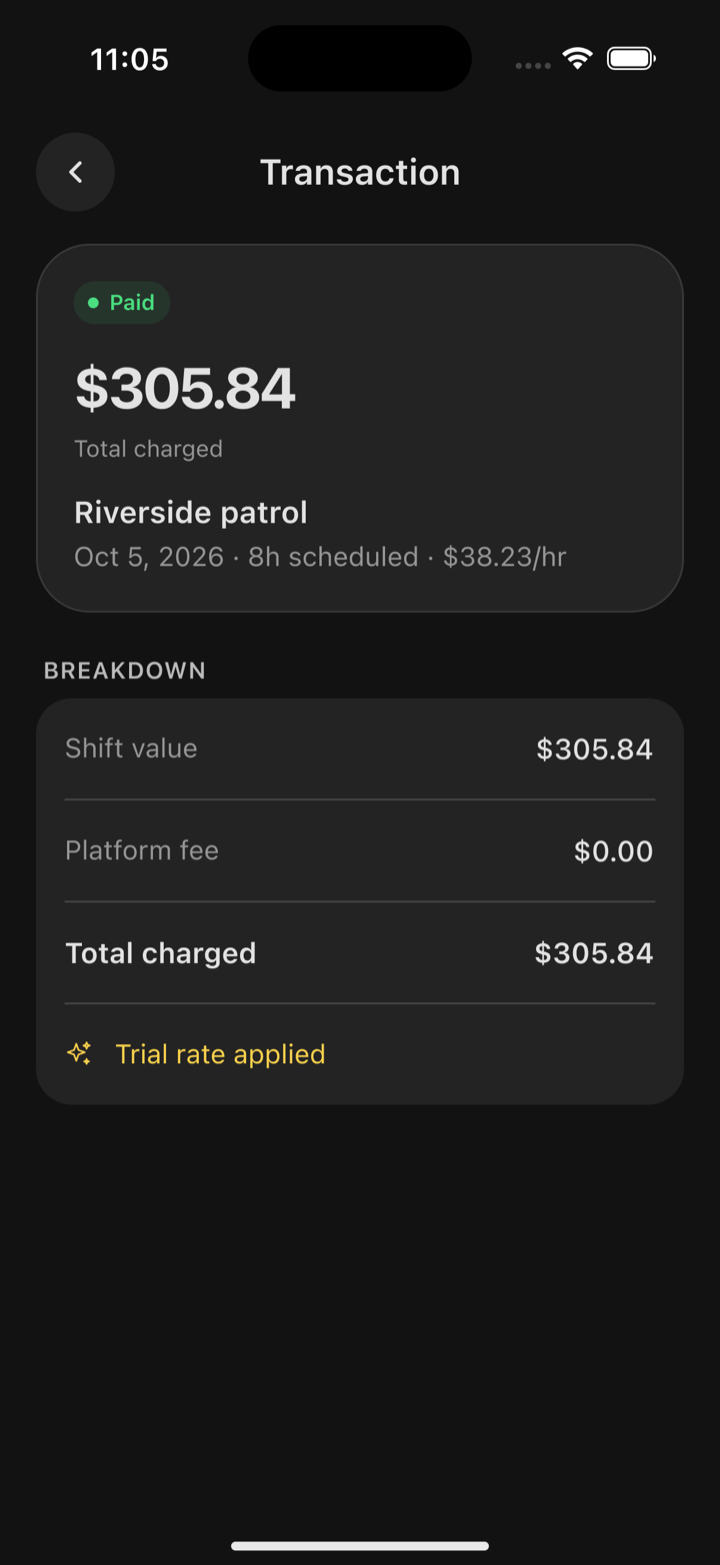
Your payment method is charged automatically when the shift is settled, based on recorded time. No manual invoicing, no reconciling receipts.
Rate & build your bench
Rate your team after the shift, message them directly, and add the ones you trust to your contacts for faster staffing next time.